
In order to play SD Remix on your GameCube, you must be able to run homebrew on your GameCube. Fortunately, there are many ways of doing so, and some of the methods are quite easy, particularly using Datel’s SD Media Launcher. The methods are:
Method 1: Datel’s SD Media Launcher
This is by far the easiest method of running homebrew on your GameCube. There is NO hardware modification and only requires Datel’s $20 memory card slot device and an SD card (NOT SDHC) that is 4GBs or less (though if you’re going to run SD Remix off of the memory card using Swiss-GC, make sure it is an SD Card compatible with Swiss-GC).
What you need before you begin:
- A GameCube and GameCube controller
- The Datel SD Media Launcher (which you can purchase from their official site here: http://us.codejunkies.com/products/gcnwii-sd-media-launcher__ef000589.aspx)
- A NON-SDHC SD Card with a maximum size of 4GB (preferably one that is compatible with Swiss-GC)
Step 1: Put your homebrew on your SD Card
Depending on the method of playing SD Remix you use, you will need to put the .dol files for the homebrew you want to use on your SD Card. Refer to GameCube Installation for the different methods available. The installation guide for your chosen method will tell you what homebrew you need for that method.
Step 2: Load up SD Media Launcher
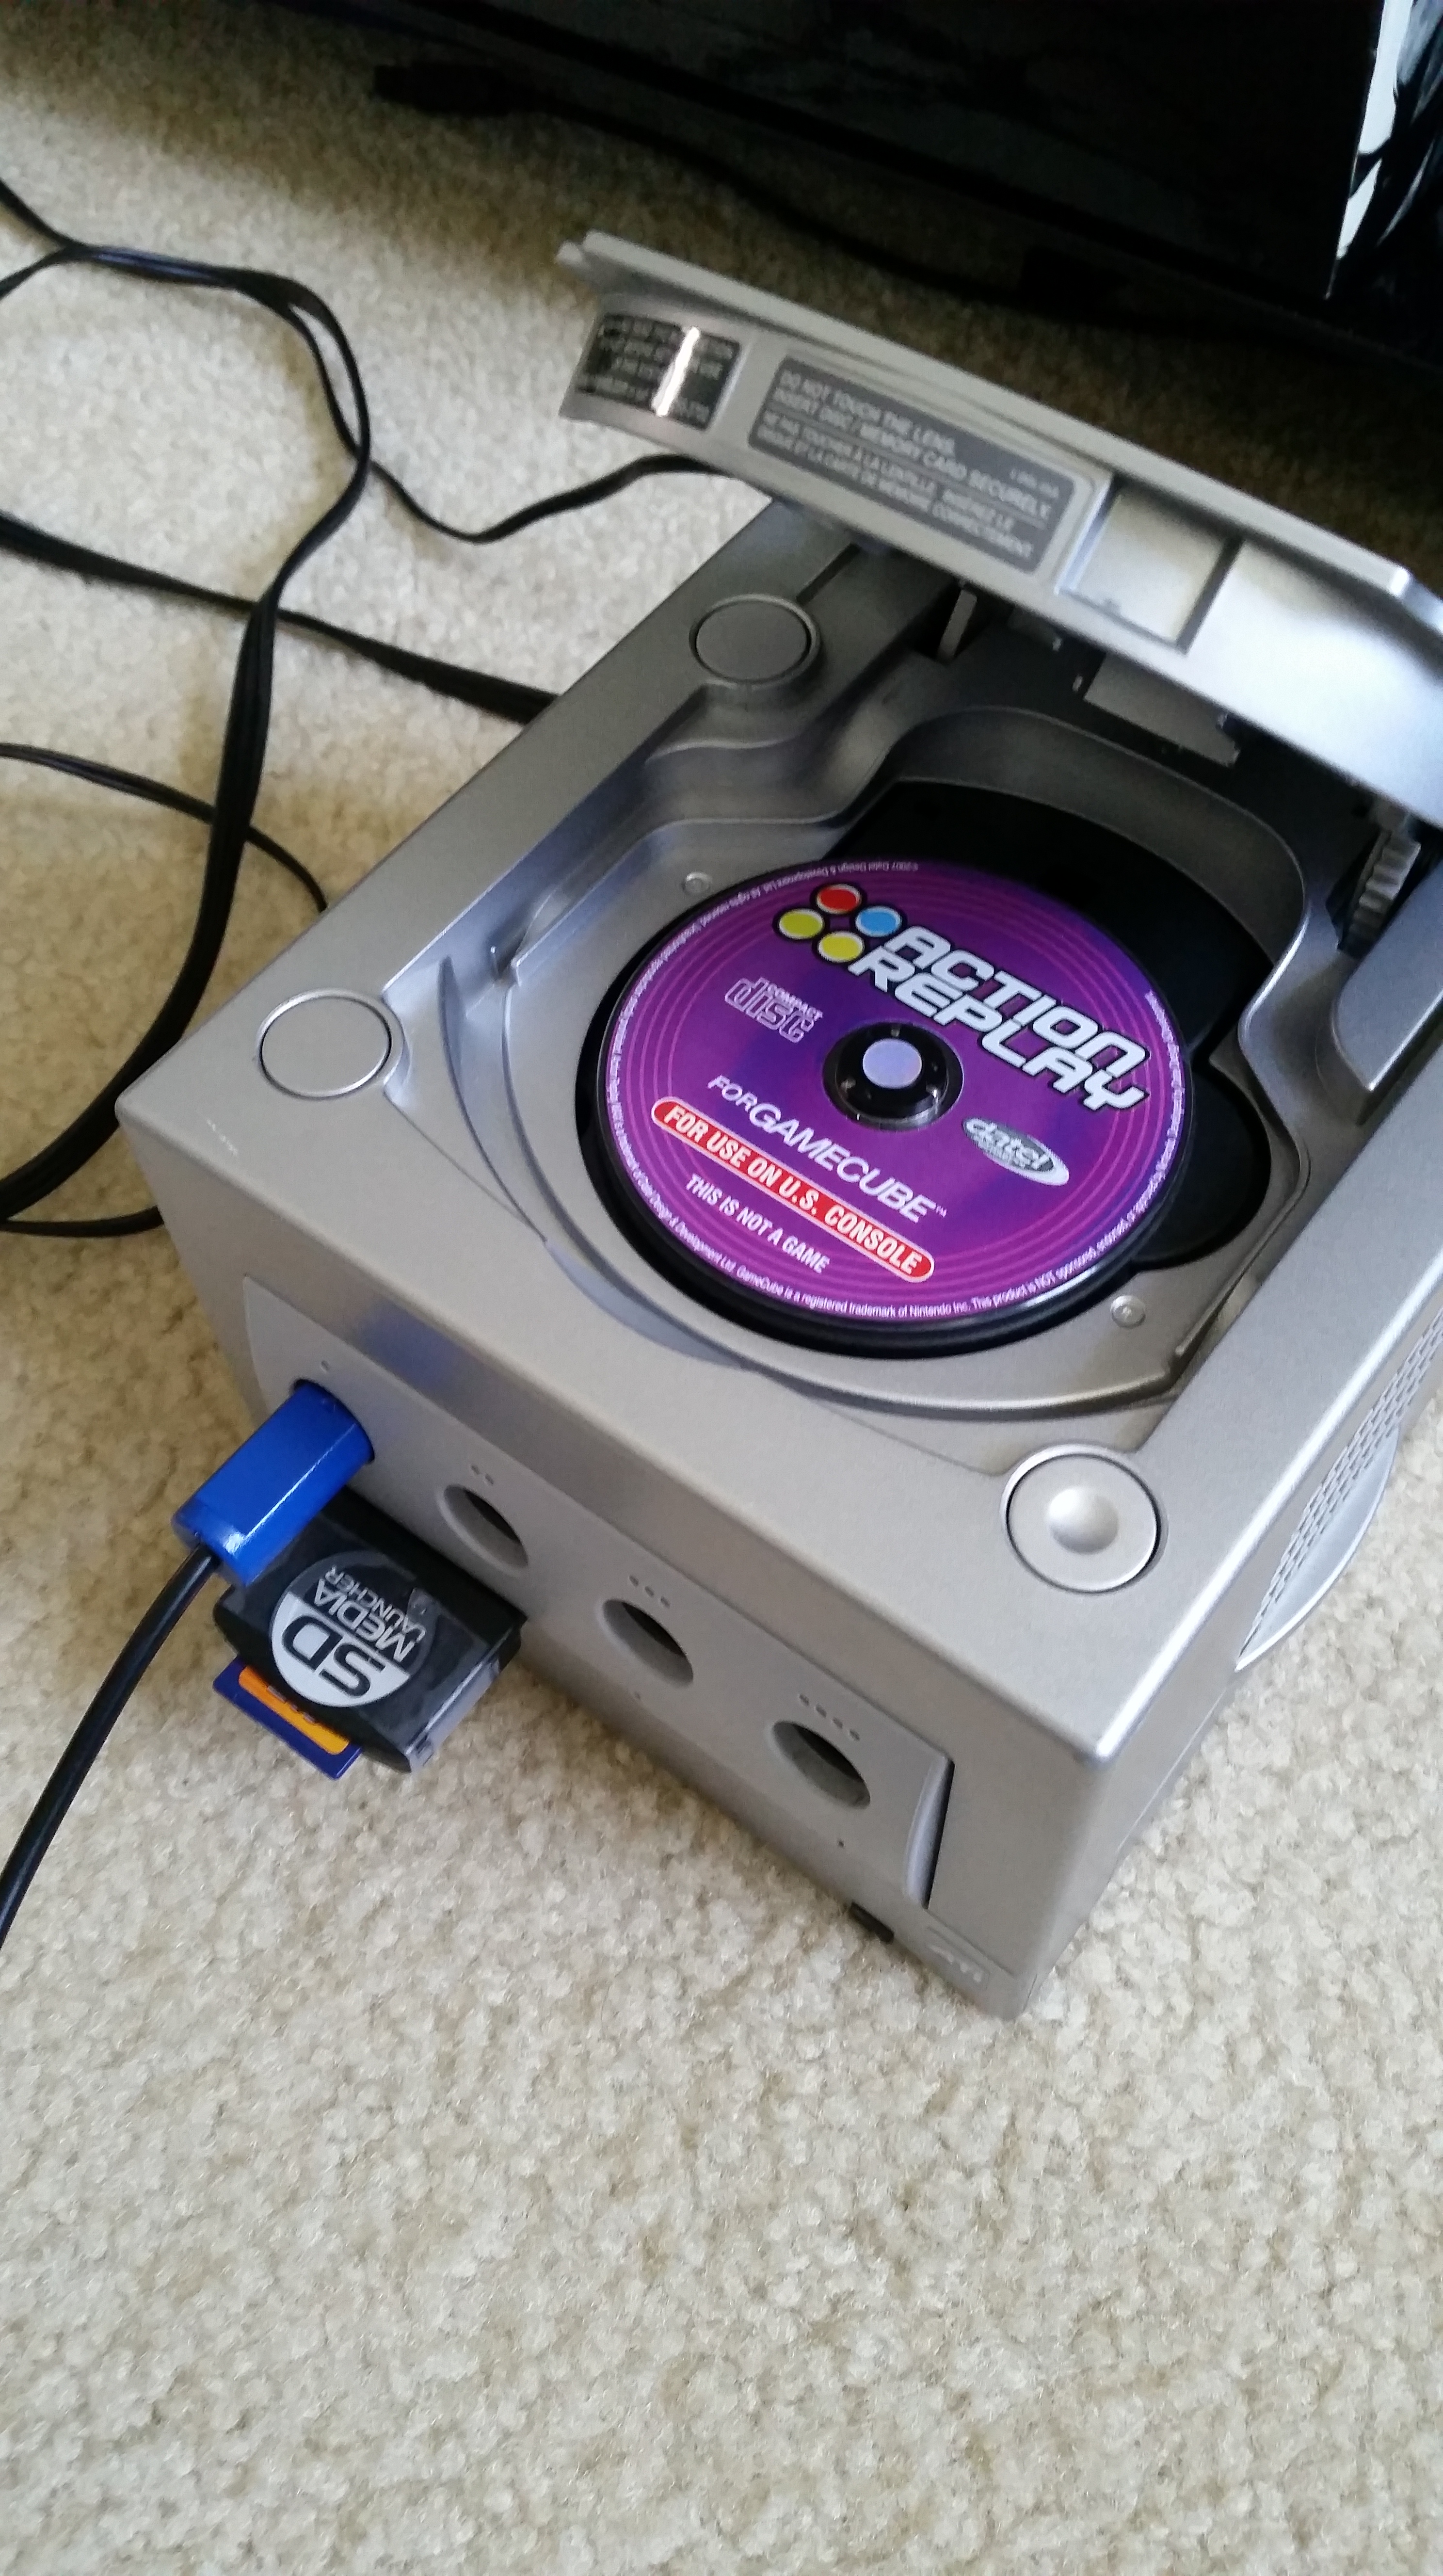
The SD Media Launcher should have come with Action Replay disc. Put the disc into your GameCube.
The SD Media Launcher itself is a memory card-like device that has a slot for you to put your SD Card into. Go ahead and put the SD Card into the SD Media Launcher, and then place the SD Media Launcher into Slot A. If you need a visual aid:
Close the GameCube lid and power on the GameCube. You should see the loading screen that looks like this:
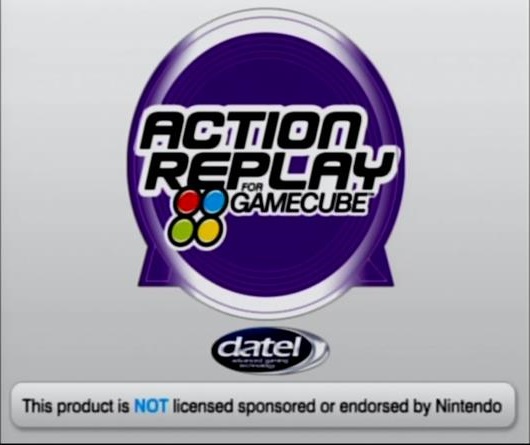
Note: If you do not see this screen and instead your GameCube says there is no disc inserted, you may have laser problems. Refer to Troubleshooting Laser Problems.
After the Action Replay has loaded, you should come to a screen with the contents of your SD Card, including your .dol files:

If you do not see this and instead you come to the Action Replay main menu:
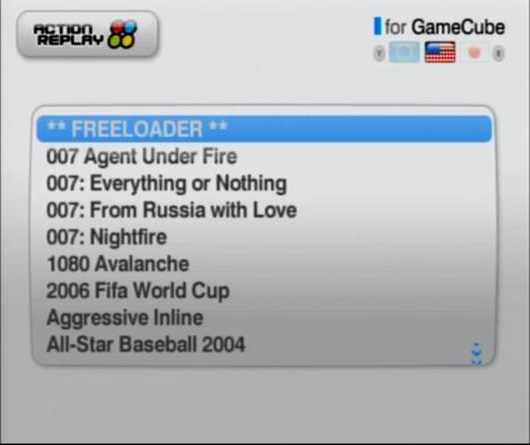
then one of several things may have gone wrong. Firstly, make sure you properly plugged in your SD Card into your SD Media Launcher and that you’ve properly plugged in the SD Media Launcher into Slot A of your GameCube. If that doesn’t solve the problem, make sure you have .dol files on your SD Card. If that doesn’t work, try formatting your SD Card to FAT32. If that doesn’t work, make sure you’re using a NON-SDHC memory card. If you’ve made sure of that, make sure the SD Card is 4GB or less.
Assuming it’s working, you can now run your selected homebrew by highlighting it and pressing the “A” button. It should then load your homebrew. Congradulations, you are now running homebrew on your GameCube!
Advanced: The SD Media Launcher is basically a cheap SD Gecko, which is simply a device that has an SD Card that fits into the GameCube’s memory card slot, so the GameCube can access SD Cards. Due to this, you may be able to use better SD Geckos with the Action Replay, though this is untested. If you want, you can find more information here: http://www.gc-forever.com/wiki/index.php?title=SDGecko
Method 2: Datel’s Maxdrive Pro
If you don’t want to mess with SD Cards, you could try Datel’s Maxdrive Pro, which is essentially the same except instead of using SD Cards, you simply connect the Maxdrive Pro to your computer via USB to transfer .dol files onto it.
The main problem with this is that the Maxdrive Pro is no longer sold, and there are some issues with the PC software and bootdisc, which is a problem because it is no longer supported by Datel. But if you happen to have one, you can refer to this guide to get you going: http://www.gc-forever.com/wiki/index.php?title=Datel%27s_Maxdrive_Pro
Other Methods:
The above methods are the easiest, safest, and cheapest ways to get homebrew running on your GameCube. If you have a lot of time on your hands are you know what you’re doing, you may decide to try one of the other methods. Other methods require you have certain games and hardware, like a specific version of Phantasy Star Online and a broadband adapter. Others still require that you physically modify your GameCube. Because of these reasons, we do not recommend the other methods, but if you are still interested, they are described here: http://www.gc-forever.com/wiki/index.php?title=Booting_Homebrew
Troubleshooting Laser Problems
While the GameCube is an overall hardy device, the laser in particular is very delicate, and is usually the first thing to show wear and tear. What this means is that sometimes homebrew discs can fail to be read, even if other discs can still read. There are a few methods you can use to troubleshoot your problems.
Notice: The user is responsible for all damage done to their GameCube. This is only meant as a helpful guide to help solve issues.
You may want to refer to this guide instead: http://www.gc-forever.com/wiki/index.php?title=Laser_Tuning. It covers other methods and has a diagnosing list.
Cleaning the laser’s lens
If you’re lucky, the problem may just be that your laser lens is dirty. That is a relatively simple fix. The laser lens is very delicate, so you must be careful you don’t move the laser out of position or scratch it, or you’ll just make the problem worse. There is a good guide to cleaning your lens here: http://www.ehow.com/how_4841622_clean-lens-nintendo-gamecube.html.
Adjusting the laser’s lens
As I’ve said, the laser is very delicate and reading discs is very finicky, and adjusting the laser is risky because you could simply make your GameCube stop reading discs altogether. Only attempt this method if you know what you’re doing.
One way for a laser to not work is if it’s out of alignment. If you look at the GameCube’s laser, there is a lens facing upwards toward the disc. This should be flat so that the laser goes directly upward, but over time and due to wear and tear, this lens may be facing slightly off-center. Sometimes, you can fix the problem by pressing down (lightly) on the side of the plastic that the lens is attached to to readjust it to be flat and be centered. You will need something to lightly press down with that has no sharp points and definitely not metalic. There is a significant risk of scratching the lens, so you must be very diligent. In addition, you should never touch the actual lens part, especially with your tool (only touch the sides where the laser doesn’t go through). If you scratch the lens, you won’t be able to read any discs anymore, and that’s very bad.
Sometime just pushing the laser into place won’t be enough. If you’re really desperate, have a lot of time on your hands, or really know what you’re doing, you can refer to this YouTube video on opening up the system and actually popping out the laser and repositioning it.
Adjust the laser’s potentiometer
This is incredibly risky. In fact, this is the most risky laser solution. You should only really be thinking of doing this if none of the other solutions worked and if you really know what you’re doing, and have time on your hands.
Other than the lens being the issue, the issue may simply be that the laser has gotten either weak or de-calibrated. If this is the case, you’ll have to adjust the laser’s potentiometer to recalibrate the laser to where it can read discs. This requires opening up the system and is very risky. There may be a risk of damaging your discs as well.
There’s a GameFAQs guide to adjusting the potentiometer here: http://www.gamefaqs.com/gamecube/915781-gamecube/faqs/30525
You can also search up potentiometer adjustment guides on Google and YouTube.
Replacing the laser
If everything else has failed, you may need to replace your laser. If this is the case, it is most likely not worth it, though if you still want to try, you can search up guides on Google and Youtube.

Can I run homebrew with the Action Replay Disc (newest version) and a normal SD Adaptor, instead of buying the SD Media Launcher? Because I already have action replay and I don’t want to have it twice. Then I could only buy an adaptor.
LikeLike
Hey there i just have a question on setting this up. I am using a 2GB SD Card and the SD Media Launcher with an SD Gecko from Ebay. I put the swiss.dol folder into my sd card and it doesnt work. I have also tried just putting the swiss.dol file on its own onto my sd card and nothing seems to read. It just loads to the cheat code screen everytime. Hope you can possibly offer some advice on this. Thank you
LikeLike
Make sure you put the memory card with the SD card slot in memory card slot B. It only works if you put it in memory card slot B!
LikeLike
If you have a memory card that doesn’t say “SD Media Launcher” on it, make sure you put it in slot B. Works for me every time. If that doesn’t work, try getting a different SD card. The SD card HAS to be under 4GB for the action replay to detect it though.
LikeLike